A Practical Guide to Choosing the Best Peel and Stick Backsplash Tiles for Your Kitchen
A practical guide for homeowners and renters looking for practical decorating ideas on best peel and stick backsplash tiles, covering the best next steps, tradeoffs, and when to call a pro.
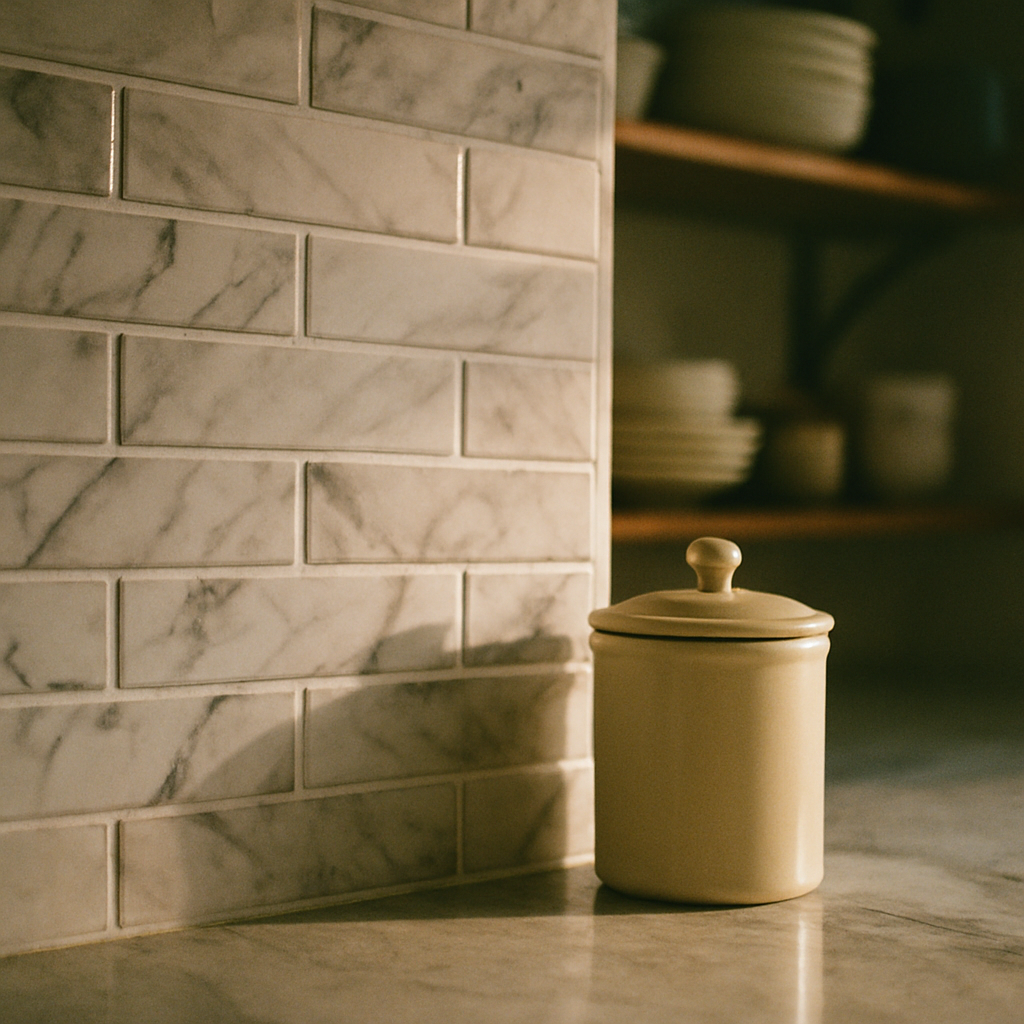
Peel and stick backsplash tiles have revolutionized kitchen decorating for homeowners and renters alike. Offering a quick, affordable way to refresh your kitchen walls without the mess of grout or tile cutting, these self-adhesive tiles are a favorite for DIY enthusiasts and novices. But with so many options on the market, how do you choose the best peel and stick backsplash tiles that balance style, durability, and ease of installation? This guide walks you through everything you need to know—from initial planning and best product choices to common pitfalls and when it’s time to call in a professional.
Why Peel and Stick Backsplash Tiles Are a Smart Choice
If you’re considering a kitchen update but dread the hassle and cost of traditional tile installation, peel and stick backsplash tiles are an excellent alternative. They require no grout, no special tools, and minimal skill, making them ideal for renters or anyone wanting a fast, budget-friendly makeover. Plus, they’re removable, which means you can change your kitchen style without damaging walls or committing to a permanent installation.
However, not all peel and stick tiles are created equal. Some are waterproof and heat resistant, while others may peel off in humid conditions or near stovetops. Knowing the best peel and stick backsplash tiles for your specific kitchen environment ensures your investment lasts and looks great.
What to Check First Before Buying Peel and Stick Backsplash Tiles
Before shopping, take time to evaluate your kitchen’s conditions and your goals for the backsplash project. Here are the critical first checks:
1. Surface Condition and Preparation
Peel and stick tiles adhere best to smooth, clean, and dry surfaces. Check your backsplash walls for grease, dirt, peeling paint, or textured surfaces like rough plaster or unsealed drywall. These can prevent proper adhesion and cause tiles to lift prematurely. If your walls are uneven or damaged, consider repairing or sanding them smooth before installation.
2. Heat and Moisture Exposure
Kitchens are high-moisture environments, especially near sinks and stoves. Some peel and stick tiles are made from vinyl or PVC and offer water resistance, but many do not tolerate constant steam or splashes. Tiles placed too close to heat sources may warp or lose adhesion. Measure the distance between the backsplash area and your stove or oven, and choose tiles rated for heat resistance if necessary.
3. Size and Layout Planning
Measure your backsplash area carefully, including any outlets or switches. Calculate how many tiles you’ll need, factoring in a 10% overage for cuts and mistakes. Planning your layout before purchasing helps avoid running short or buying too many tiles.
Best Peel and Stick Backsplash Tiles and Installation Steps
Choosing the right product depends on your style preference, budget, and kitchen conditions. Below are some of the best peel and stick backsplash tile types and practical installation tips:
1. Vinyl Peel and Stick Tiles
Pros: Affordable, waterproof, easy to clean, and widely available in many patterns including faux subway tile, marble, and mosaic.
Cons: Can be less heat resistant; avoid placing directly behind stoves or near ovens.
Installation Tip: Clean the surface thoroughly with rubbing alcohol to remove grease and dust. Peel the backing slowly while pressing firmly to avoid air bubbles.
2. PVC or Plastic Composite Tiles
Pros: Durable, waterproof, and often have a textured finish that mimics ceramic tile or stone.
Cons: Slightly more expensive than vinyl; some brands have a strong chemical smell initially.
Installation Tip: Allow tiles to acclimate to room temperature before installation to prevent shrinking or warping.
3. Metal Peel and Stick Tiles
Pros: Heat resistant, modern look, easy to wipe clean.
Cons: Can be pricier and may require a sturdier adhesive surface.
Installation Tip: Use a roller tool to press tiles firmly and ensure edges stick well.
4. Glass Peel and Stick Tiles
Pros: Sleek, reflective surface that brightens kitchens.
Cons: More fragile and expensive; installation demands careful handling.
Installation Tip: Avoid high moisture zones as some glass tiles have paper backing that can peel.
Mistakes to Avoid When Installing Peel and Stick Backsplash Tiles
Even the best peel and stick backsplash tiles won’t perform well if installed incorrectly. Here are key mistakes to avoid:
1. Skipping Surface Preparation
Failing to clean or smooth your walls leads to poor adhesion and bubbling. Spend extra time prepping the surface.
2. Ignoring Heat and Moisture Risks
Installing peel and stick tiles too close to heat sources or in constantly moist areas can cause warping or peeling. Use heat-rated tiles or consider traditional tile in these zones.
3. Rushing the Installation
Peel and stick tiles require careful alignment and pressure application. Rushing leads to crooked rows, air bubbles, or uneven edges.
4. Not Testing a Small Area First
Always test a tile in an inconspicuous spot to ensure adhesion and appearance before committing to the whole backsplash.
When to Call a Pro for Your Backsplash Project
While peel and stick tiles are designed for DIY, certain situations call for professional help:
- Uneven or damaged walls: Professionals can prep or install backer boards to provide a smooth surface.
- Electrical outlets and switches: A licensed electrician should handle removing and reinstalling outlet covers safely.
- High-heat zones: For backsplashes directly behind ranges or cooktops, a pro can advise on heat-resistant materials or install traditional tile.
- Complex layouts: Intricate designs, corners, or mixing tile types may require skilled cutting and fitting.
Hiring a professional ensures your backsplash looks polished and lasts longer, especially in challenging kitchen environments.
FAQ About Peel and Stick Backsplash Tiles
Q1: Can peel and stick backsplash tiles be removed without damaging walls?
A: Yes, most peel and stick tiles are designed to be removable. However, removal can sometimes peel off paint or drywall paper if the wall wasn’t properly primed or if low-quality tiles were used.
Q2: How long do peel and stick backsplash tiles last?
A: With proper installation and care, they can last 5–10 years. Longevity depends on kitchen conditions like moisture, heat, and cleaning methods.
Q3: Are peel and stick tiles heat resistant enough for behind a stove?
A: Most vinyl or PVC peel and stick tiles are not recommended directly behind stoves. Metal or specialized heat-resistant tiles are better choices for these areas.
Q4: Can I install peel and stick tiles over existing tile?
A: Yes, if the existing tile is clean, smooth, and firmly attached. Avoid textured or cracked tile surfaces.
Q5: What tools do I need to install peel and stick tiles?
A: Basic tools include a measuring tape, level, utility knife or scissors for cutting, a smoothing tool or roller, and cleaning supplies.
Quick Reference Checklist for Peel and Stick Backsplash Tile Projects
| Step | Key Points |
|---|---|
| Surface Prep | Clean, dry, smooth walls free of grease/dust |
| Measure & Plan | Accurate measurements, layout planning, 10% extra tiles |
| Tile Selection | Choose based on durability, heat/moisture rating, style |
| Test First | Try a tile in a small area to check adhesion and look |
| Installation | Peel backing slowly, press firmly, use roller to smooth |
| Avoid Heat Zones | Use heat-rated tiles or traditional tile near stoves |
| Clean & Maintain | Wipe with mild cleaner; avoid abrasive tools |
| Removal | Peel gently; repair any wall damage if needed |