A Practical Guide to Mastering the Color Drenching Technique for Your Home
A practical guide for homeowners and renters looking for practical decorating ideas on color drenching technique how to, covering the best next steps, tradeoffs, and when to call a pro.
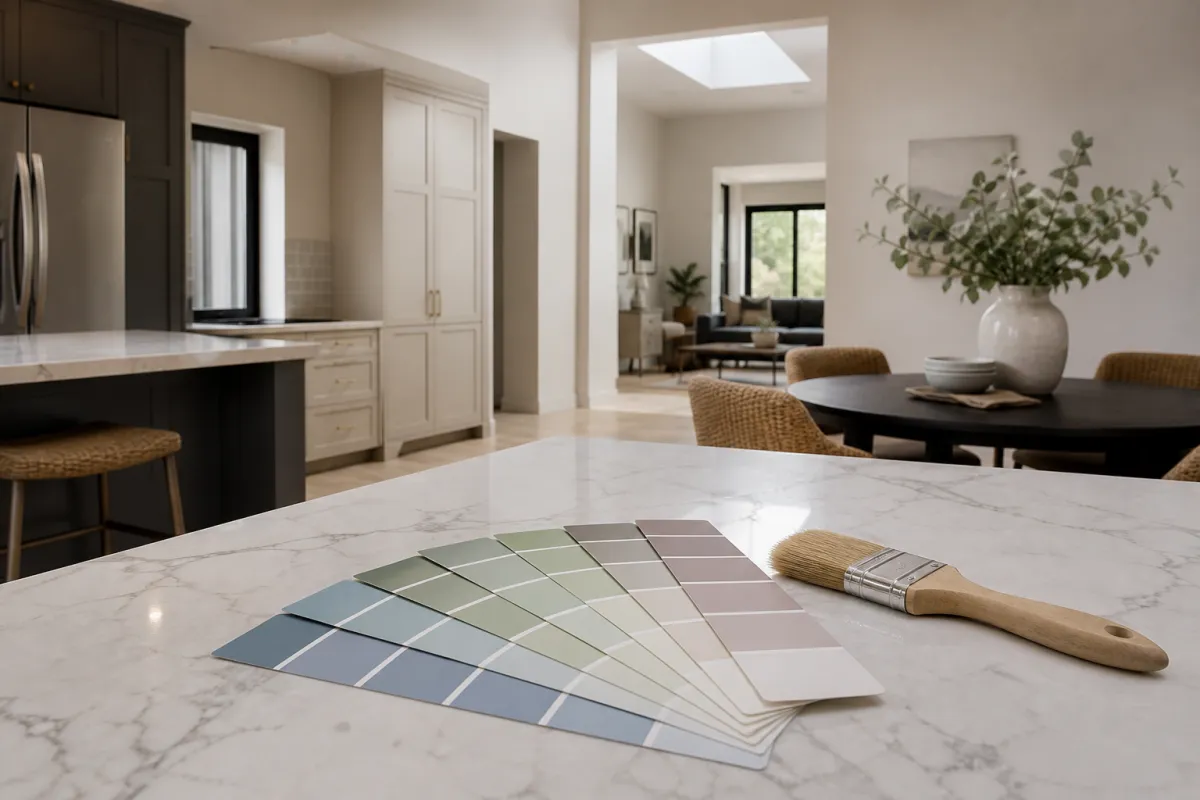
Color drenching is a bold and transformative decorating method that saturates a room with a single intense hue or a carefully chosen palette. It can create a dramatic, immersive atmosphere or a soothing, cohesive backdrop depending on how it’s executed. For homeowners and renters eager to refresh their space with a vibrant, stylish impact, understanding the color drenching technique how to is essential. This guide breaks down what to consider before diving in, step-by-step instructions, common pitfalls, safety considerations, and when to bring in professional help.
Why the Color Drenching Technique Matters in Interior Styling
Color drenching isn’t just slapping paint on walls; it’s about creating an enveloping experience that transforms a room’s mood and function. When done well, it can:
- Unify a space visually: Using one dominant color across walls, ceilings, floors, and furnishings creates a seamless, sophisticated look.
- Amplify architectural features: Deep, saturated colors can highlight moldings, alcoves, or built-in shelving by surrounding them with matching or complementary tones.
- Set a strong emotional tone: Different colors evoke different feelings—blue for calm, red for energy, green for balance. Drenching immerses you fully in that mood.
- Make small spaces feel intentional: Instead of feeling cramped, a small room painted entirely in a rich color can feel cozy and curated.
However, the boldness of color drenching means it requires thoughtful planning and execution. Mistakes can make a room feel overwhelming or visually chaotic. This guide will help you navigate those challenges safely and stylishly.
What to Check First Before Color Drenching Your Room
Before picking up a paint roller or buying textiles, take these preparatory steps to ensure your color drenching project succeeds:
1. Assess Your Space’s Natural and Artificial Lighting
Lighting dramatically affects how color reads. A deep navy might feel warm and inviting in a sunlit room but cold and oppressive in a dimly lit one. Examine your room at different times:
- Natural light: Note how sunlight enters and shifts throughout the day.
- Artificial light: Consider your existing fixtures’ color temperature (warm, cool, or neutral).
Adjust your color choice accordingly or plan to upgrade lighting to complement the drenched color.
2. Understand Your Room’s Function and Mood Goals
Color drenching is powerful, so align it with the room’s purpose:
- Living rooms: Warm reds or oranges encourage socializing.
- Bedrooms: Soft blues or greens promote relaxation.
- Home offices: Bright yellows or greens can boost focus.
Choosing a color that supports your lifestyle avoids regret later.
3. Check Your Walls and Surfaces for Prep Needs
A flawless finish requires well-prepared surfaces:
- Patch holes and cracks.
- Sand rough spots.
- Clean grease or dirt.
Poor prep leads to uneven coverage and peeling paint, undermining the drenching effect.
4. Consider Your Budget and Time Frame
Color drenching may involve painting ceilings, floors, and even furniture or fixtures. This can increase costs and time compared to standard wall painting. Decide early what you can realistically achieve yourself versus hiring help.
Best Steps to Apply the Color Drenching Technique
Here’s a practical, step-by-step approach to mastering the color drenching technique how to:
Step 1: Choose Your Color Palette Wisely
- Select one dominant color for walls, ceilings, and large surfaces.
- Decide if you want a monochromatic look (varying shades of the same color) or a limited complementary palette.
- Test paint swatches on different surfaces and observe at different times.
Step 2: Prepare All Surfaces Thoroughly
- Remove outlet covers, switch plates, and hardware.
- Repair and sand walls and ceilings.
- Clean all surfaces to ensure paint adhesion.
Step 3: Prime Surfaces If Needed
- Use a primer if painting over dark colors or porous surfaces.
- Primer helps achieve a uniform finish and reduces the number of paint coats required.
Step 4: Paint Ceilings First
- Painting the ceiling the same color drenches the room and avoids visual breaks.
- Use high-quality rollers and brushes for smooth application.
- Apply at least two coats for even coverage.
Step 5: Paint Walls and Trim
- Use painter’s tape to protect trim if you’re painting it a different shade.
- For a fully drenched look, paint trim, doors, and moldings the same color.
- Multiple thin coats provide better results than one thick coat.
Step 6: Consider Painting Floors or Large Furniture
- For renters, removable rugs or slipcovers in the chosen color can mimic drenching without permanent changes.
- For homeowners, painting floors or key furniture pieces deepens the immersive effect.
- Use appropriate floor paint or furniture paint designed for durability.
Step 7: Add Textures and Accents in the Same Color Family
- Incorporate fabrics, pillows, lampshades, and artwork in matching or complementary hues.
- This layers the color, preventing flatness and adding visual interest.
Step 8: Balance with Lighting and Reflective Surfaces
- Use metallic or glossy finishes sparingly to reflect light and break up solid color blocks.
- Consider adding mirrors or glass objects to add depth.
Common Mistakes to Avoid When Using the Color Drenching Technique
Mistake 1: Choosing Too Dark or Saturated a Shade Without Testing
A color that looks perfect on a small swatch can overwhelm when applied to every surface. Always test large patches and live with them for a few days before committing.
Mistake 2: Neglecting Surface Preparation
Skipping patching, sanding, or cleaning leads to uneven texture and paint peeling, ruining the effect and requiring costly touch-ups.
Mistake 3: Ignoring Ventilation and Fume Safety
Painting multiple surfaces with deep colors often means more paint and longer drying times. Ensure good ventilation to avoid inhaling fumes. Use low-VOC or zero-VOC paints when possible, especially in small spaces.
Mistake 4: Overlooking Child and Pet Safety
Sharp furniture edges painted in bold colors become more visually prominent. Consider corner guards or rounded furniture in homes with kids. Also, ensure paint and finishes are non-toxic.
Mistake 5: Underestimating Time and Budget
Color drenching is a commitment. Attempting to rush the project or skimp on materials often results in subpar finishes and frustration.
When to Call a Pro for Color Drenching Projects
Certain aspects of color drenching may require professional expertise:
- Electrical work: If you want to replace lighting fixtures or add new wiring to complement your new color scheme, hire a licensed electrician.
- Floor painting: Properly prepping and applying floor paint involves specialized tools and techniques to ensure durability.
- Large-scale surface prep: Extensive drywall repair, plaster work, or ceiling preparation may be best left to contractors.
- Custom finishes: Techniques like Venetian plaster, textured paint, or specialty coatings require skilled artisans.
- Color consultation: Interior designers or color consultants can help select the perfect palette and finish for your specific lighting and architecture.
Hiring a pro can save time, avoid costly mistakes, and ensure the dramatic impact you want from your color drenching project.
FAQ About the Color Drenching Technique
Q1: Can I use the color drenching technique in small rooms?
Yes, but choose lighter or medium tones to avoid making the space feel cramped. Using a monochromatic palette with varied textures helps maintain interest.
Q2: Is color drenching reversible for renters?
It can be challenging since it often involves painting ceilings, trim, and floors. Consider removable décor items or temporary wallpaper in your chosen color as alternatives.
Q3: How long does paint usually take to dry when color drenching?
Drying time depends on paint type and ventilation but expect at least 4–6 hours between coats. For full curing, allow several days before heavy use.
Q4: What paint finishes work best for color drenching?
Matte or eggshell finishes create a soft, enveloping effect. Satin or semi-gloss can add subtle reflectivity but avoid overly glossy finishes that break the immersive feel.
Q5: Can I combine color drenching with pattern or wallpaper?
Yes, but keep wallpaper limited to one wall or a small section to avoid visual overload. Choose patterns in the same color family for cohesion.
Quick Reference Checklist for Color Drenching Technique How To
| Step | Key Considerations | Safety Tips |
|---|---|---|
| Assess Lighting | Observe natural and artificial light at different times | Use daylight bulbs for testing |
| Choose Color Palette | Match room function and mood | Test large samples before painting |
| Prepare Surfaces | Patch, sand, clean thoroughly | Wear masks and gloves when sanding |
| Prime Surfaces | Use primer for dark or porous surfaces | Ensure good ventilation |
| Paint Ceiling First | Use quality tools, apply multiple coats | Ladder safety for high ceilings |
| Paint Walls and Trim | Use painter’s tape for clean edges | Avoid inhaling paint fumes |
| Paint Floors/Furniture | Use specialized paint for durability | Follow manufacturer safety guidance |
| Add Textures and Accents | Layer fabrics and décor in matching tones | Avoid clutter that blocks airflow |